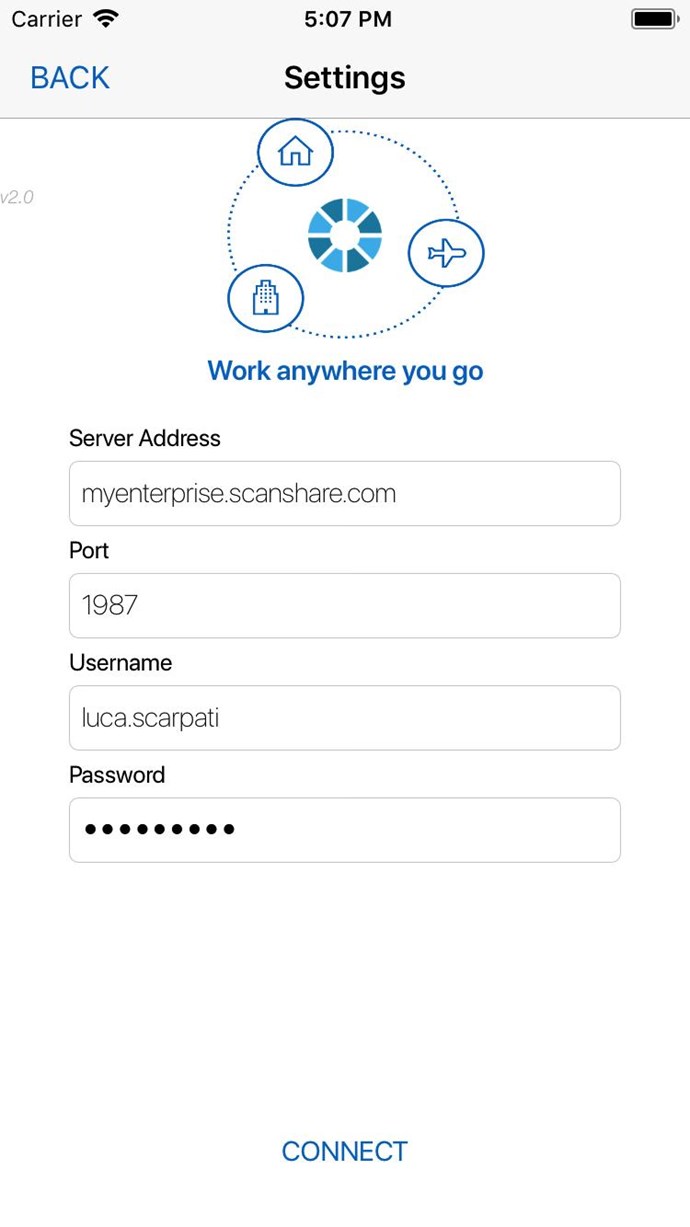
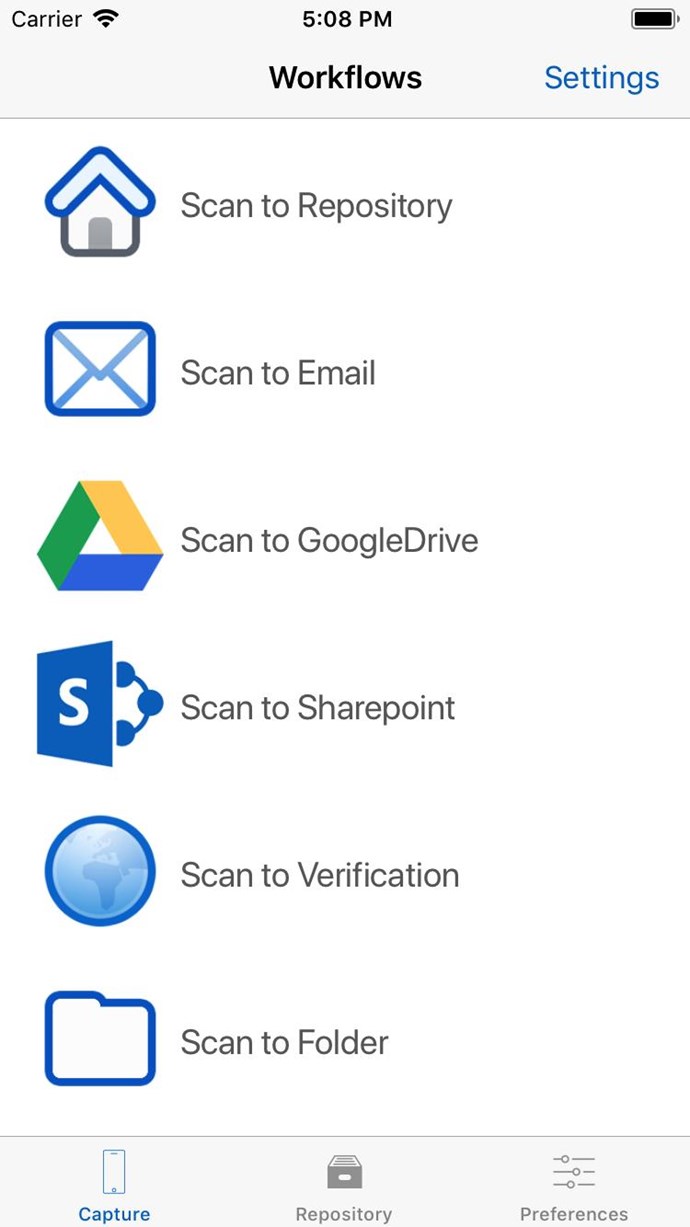
To connect your iOS mobile to the Scanshare server you need a secure connection, it's completely different from connecting the android mobile client.
Apple does not provide unsafe "http" connections but only secure connections in "https" and a SSL certificate is required to allow a web application to serve HTTPS traffic.
Otherwise the result will be a sad face![]() :
:
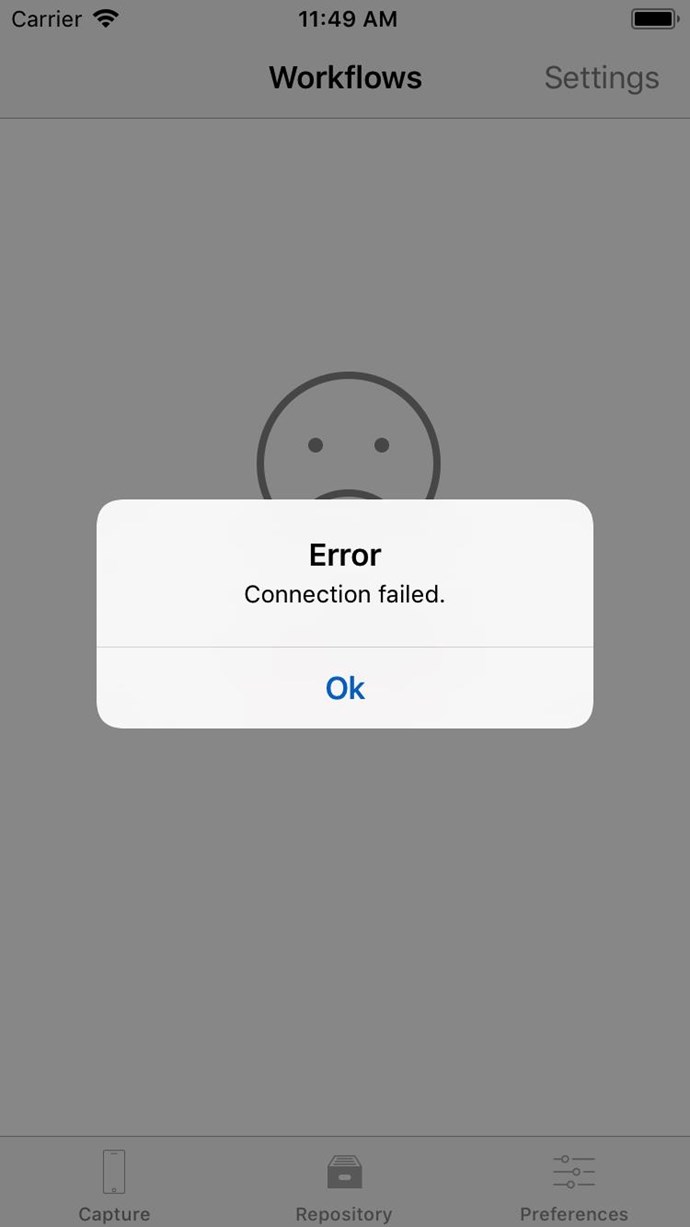
or
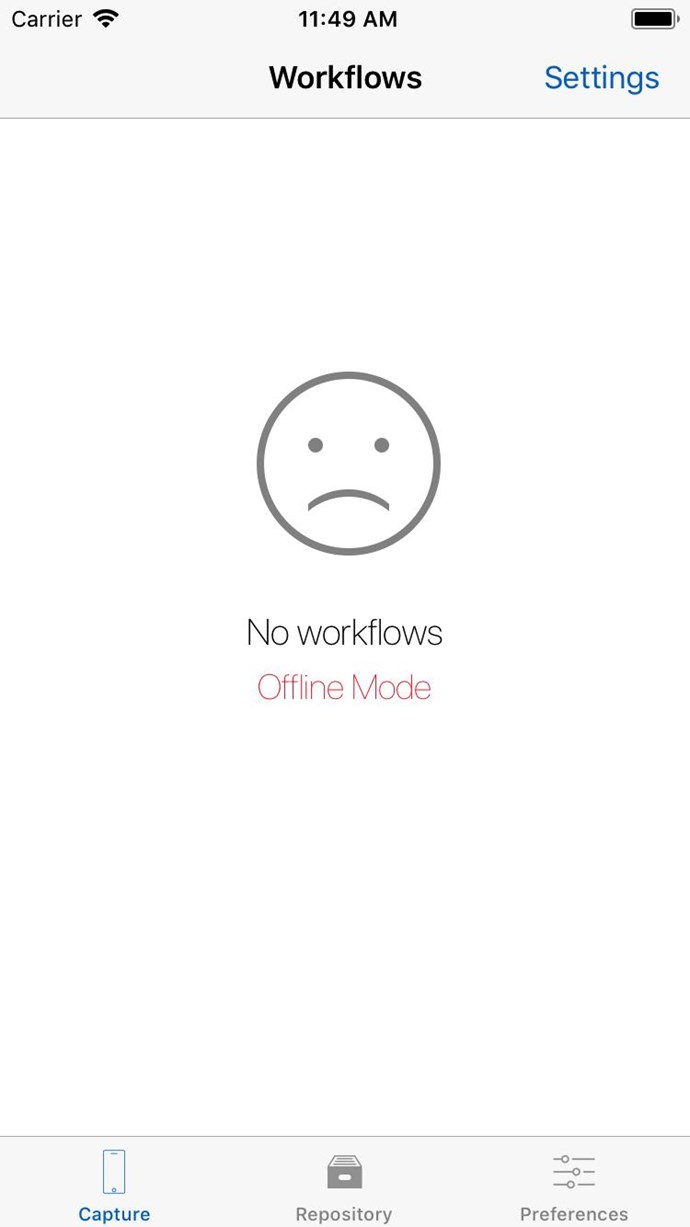
To do this, if you do not have a public server already configured and ready to use, with an official trusted certificate for the public DNS, you can follow these two prerequisites:
1) Configure local DNS;
2) Configure the FTP to server SSL
3) Configure the machine to serve SSL.
Configure local DNS:
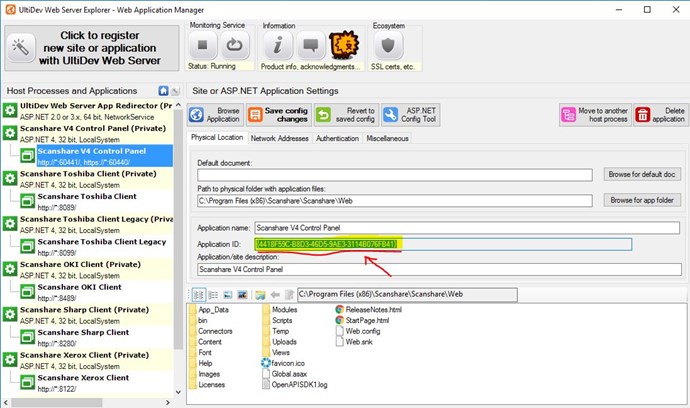
- Open Ultidev Web Server
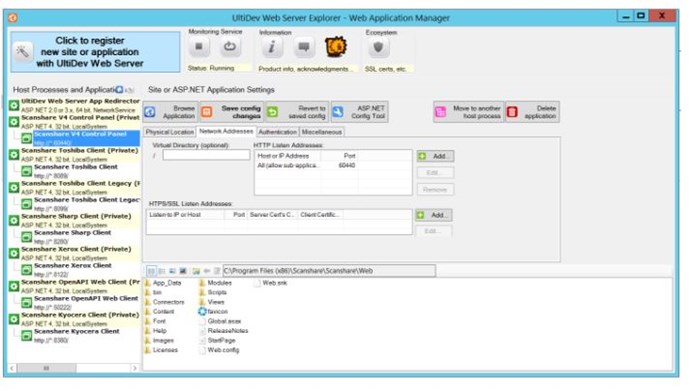
- Change the current "http" port (e.g. 60441) and click "OK"
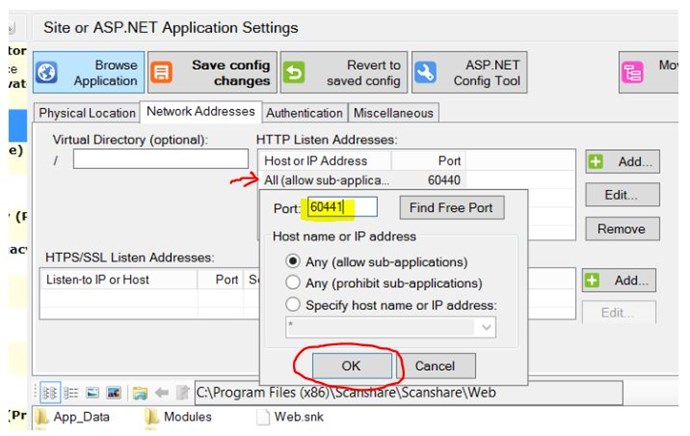
- Go to the "https" section and add or create a new certificate
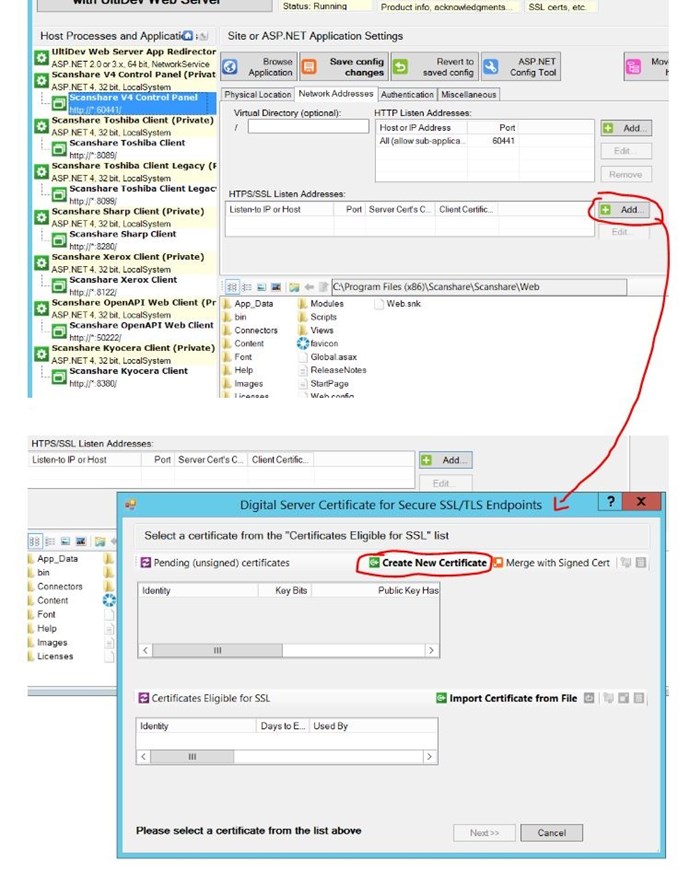
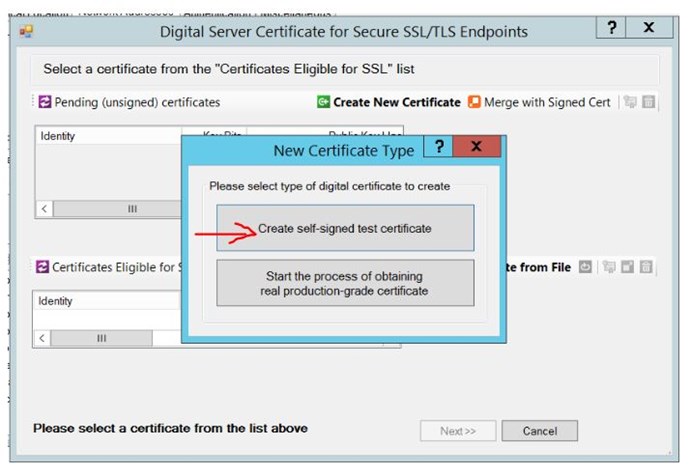
- If the certificate does not exists, you can create a new one
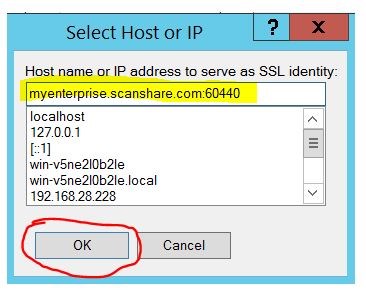
- Enter a hostname, the DNS to be used is: myenterprise.scanshare.com (where scanshare may be changed with the name of the running application brand).
Scanshare: myenterprise.scanshare.com
Document Navigator: myenterprise.documentnavigator.com
Covert+Share: myenterprise.convertplusshare.com
Capture & Store: myenterprise.e-bridgecs.com
ScanZ: myenterprise.scanz.com
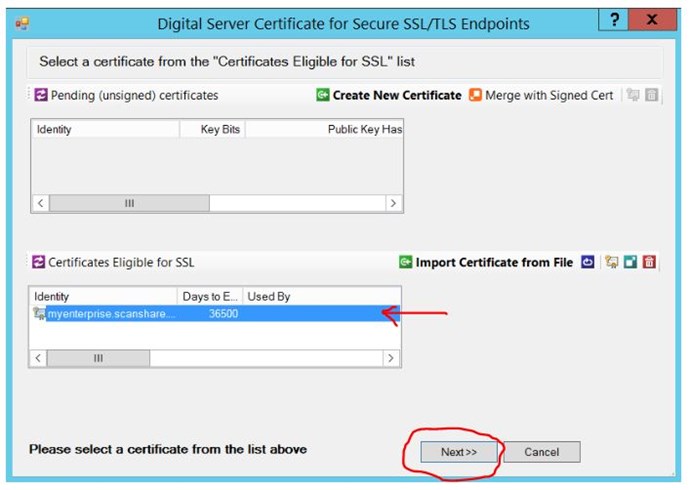
- Select the certificate and click "Next"
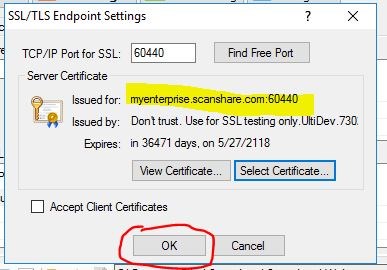
- Here you see some information about the certificate and if the port is not inserted you can add it as TCP / IP Port for SSL: 60440, then when all correct click OK
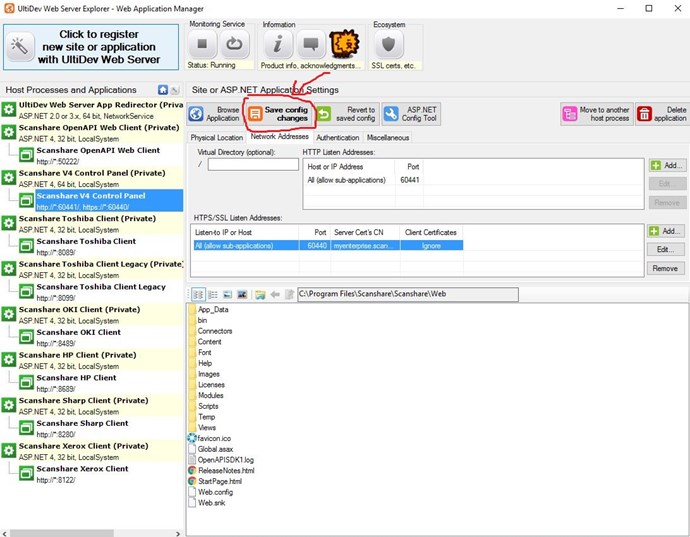
- Double check the information in the "HTTPS" section are correct and click "Save config changes"
Note: If the configuration is for local usage on the server only please follow the next two steps to configure the DNS locally on the server, otherwise the DNS must be added to the network / domain DNS server records.
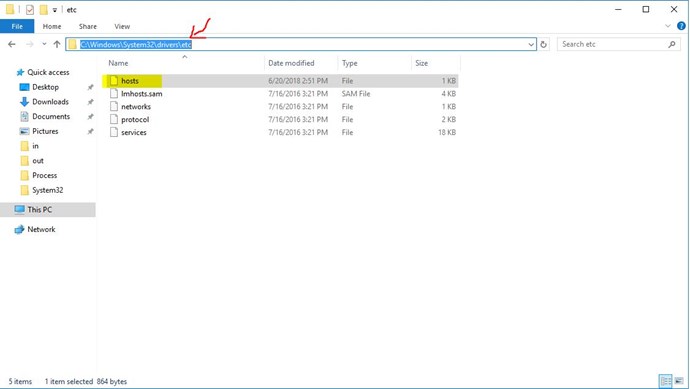
- Go to C:\Windows\System32\drivers\etc and open the hosts file
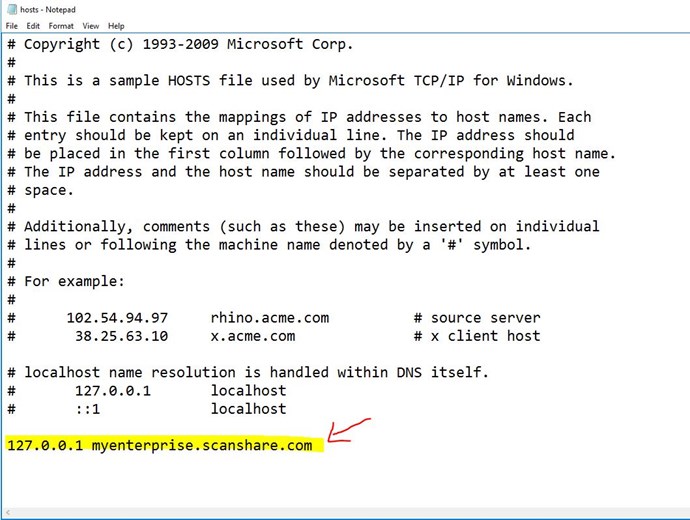
- Add the hostname resolution to the localhost address
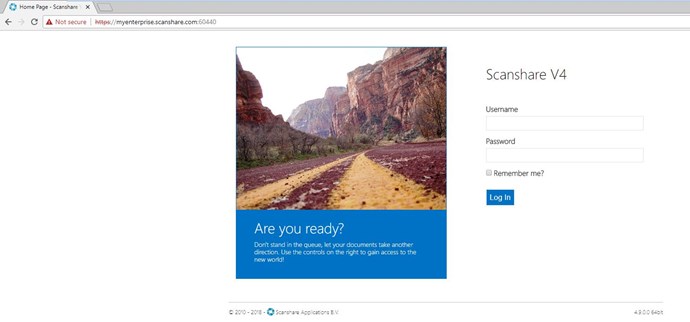
- Done, try to connect via browser by using the configured DNS under HTTPS protocol
Configure the FTP to server SSL:
in practice you have to specify the range of ports to use, the passive host and above all the certificate to use, in our case we will export the local one but if you were using a Trusted you can also add ...
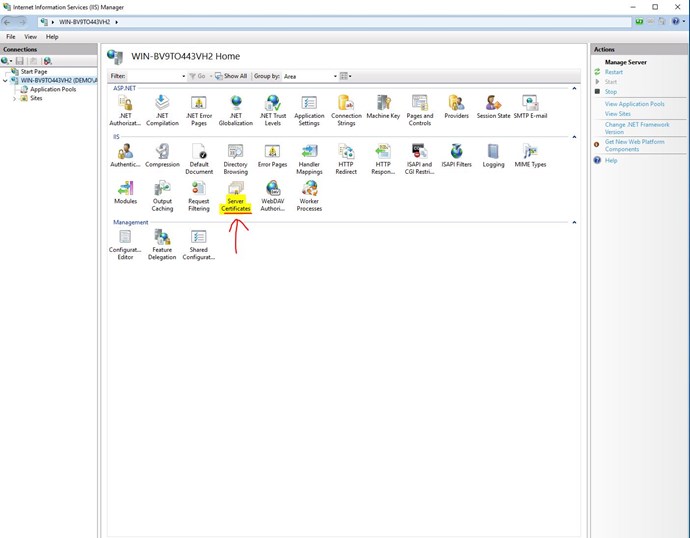
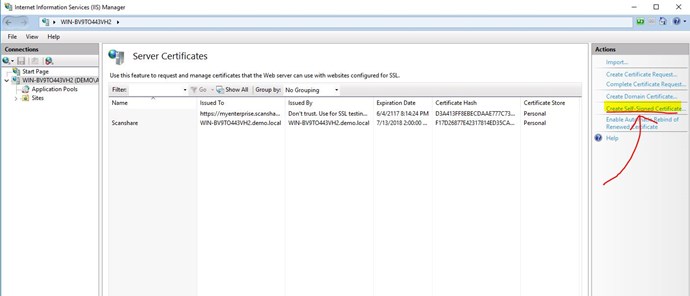
1. Export the certificate from IIS
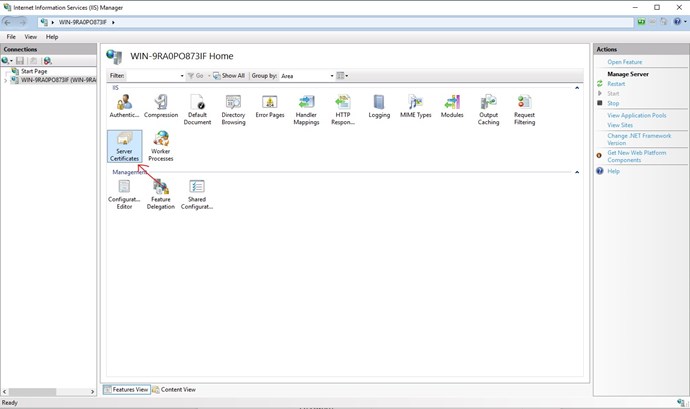
... select the certificate and export it (remember the password entered because you will have to use it in the application) 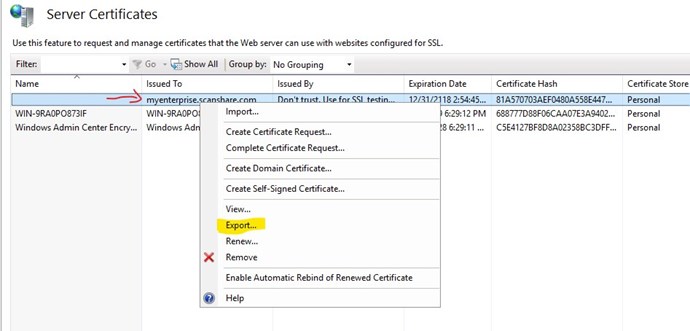
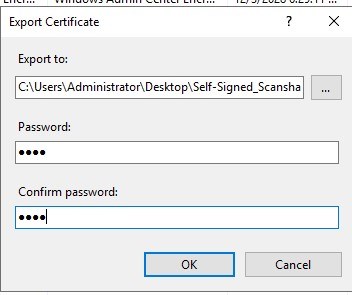
2. Configure the FTP into the application settings:
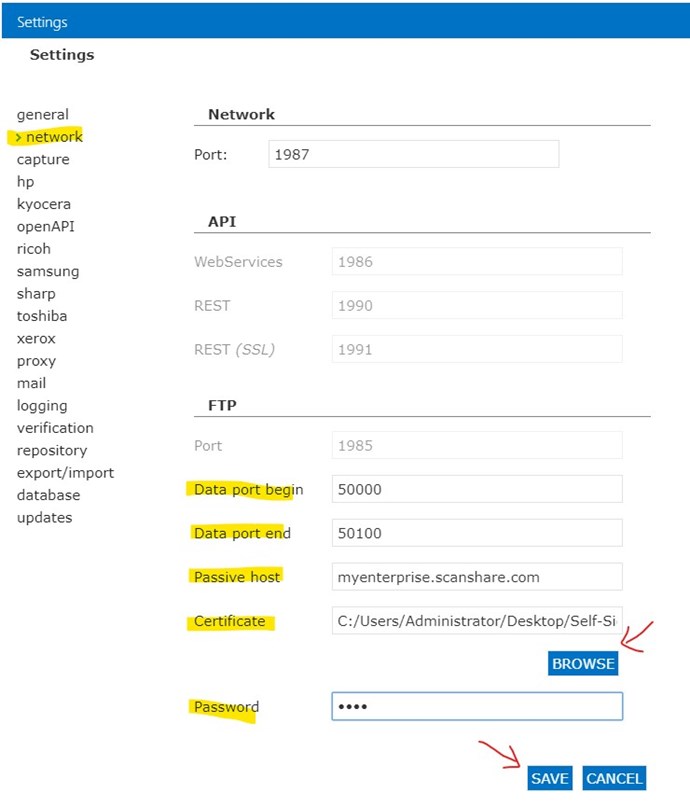
Insert the Data port begin and end that FTP can use to communicate, for example we insert the range from 50000 to 50100...insert the Passive host in the our case "myenterprise.scanshare.com" and insert the certificate created above with the password.
Click save and go to next step!
Configure the machine to serve SSL:
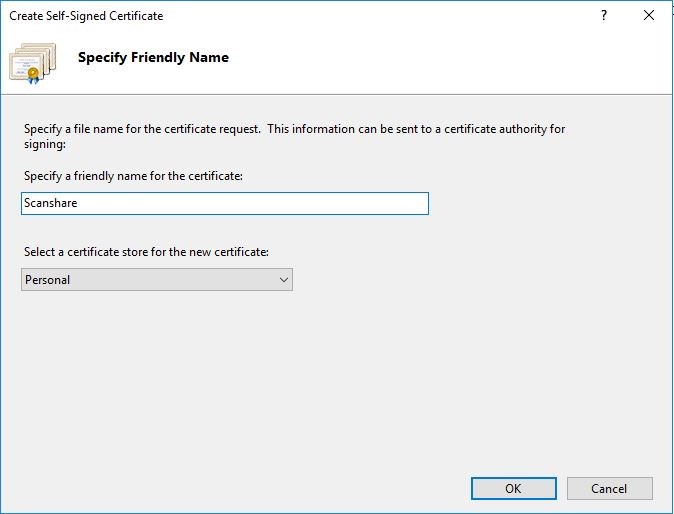
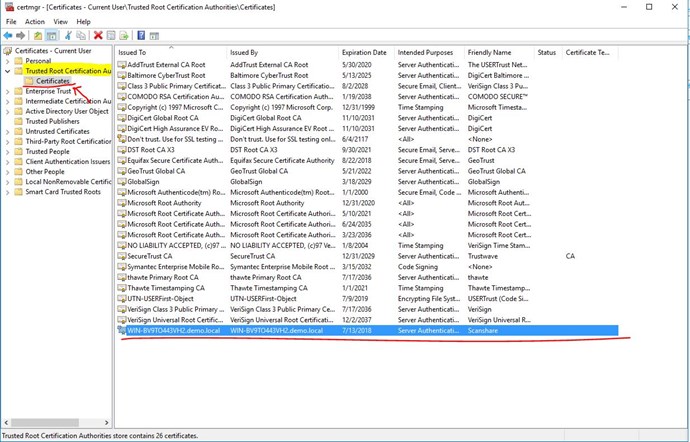
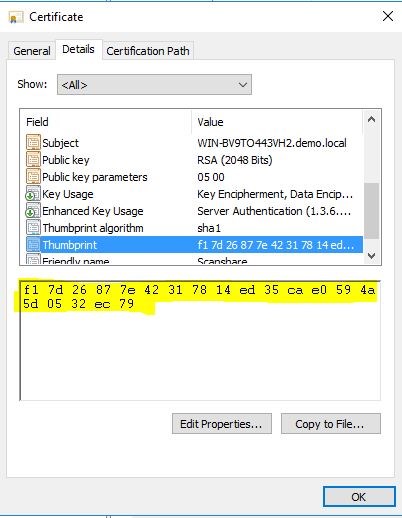
The method in this article shows how to bind a SSL certificate to the network web service and adds the self-signed SSL certificate to the trusted certificates store on Windows (the same procedure also applies to those who have a real certificate). Afterwards, the self-signed SSL certificate will be fully trusted on the machine. It should be noted that this self-signed SSL certificate will only be trusted on this machine, and not be trusted in general, because, of course, trusted SSL certificates are issued by actual Certificate Authorities.

